

3D Puff Embroidery Digitizing Services for Bold, Raised Designs
By Tom Cruise (@absolutedigitizing1) ·
3D Puff Embroidery Digitizing Services for Bold, Raised Designs
By Tom Cruise (@absolutedigitizing1) ·
3D Puff Embroidery Digitizing Services for Bold, Raised Designs
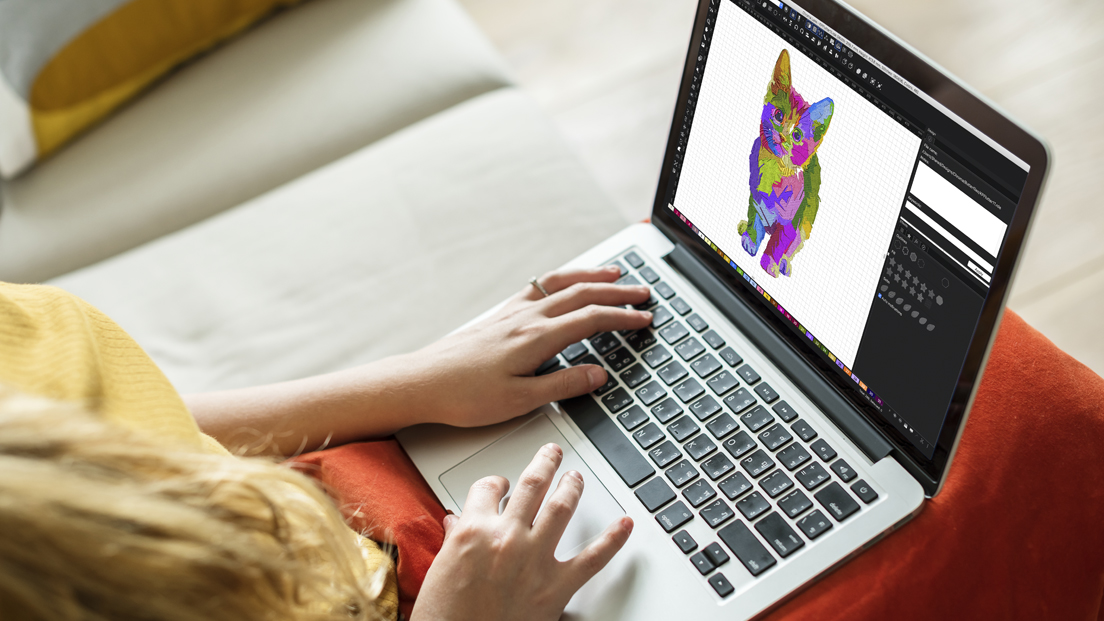

Let’s talk about the kind of embroidery that makes people stop and stare. You know the look. It is that thick, puffy lettering on the front of a snapback cap or that raised logo on a work jacket that looks like it is jumping right off the fabric. That is 3D puff embroidery, and it is one of the coolest techniques in the custom apparel world. But here is the thing you need to know right away: you cannot just take a regular embroidery file and expect it to puff up like magic. It takes a very specific kind of Embroidery Digitizing Services to make this happen. The digitizing process for 3D puff is completely different from standard flat embroidery, and if you skip that step, you are going to end up with a mess of thread and torn foam.
If you are looking to add some serious texture and depth to your next project, you have come to the right place. We are going to break down exactly what 3D puff embroidery is, why it requires a specialized digitizer, and how the pros create those crisp, clean raised designs that hold up wash after wash.
This technique looks incredible, but it is also delicate. If you do not digitize the design correctly, the stitches will cut through the foam instead of covering it. The foam will shred, pieces will peek out from under the thread, and the edges will look jagged and messy. A standard flat embroidery file simply does not have the right stitch direction, density, or underlay settings to handle foam. You need a file that is built specifically for the task.
An expert digitizer knows that 3D puff requires a different strategy. They need to adjust the stitch length, the angle, and the density to accommodate the extra height. They also need to think about the "edge walk." This is a special underlay stitch that runs along the border of the design to hold the foam in place before the top satin stitch is applied. Without that edge walk, the foam shifts around, and the design looks blurry.
Think about it. The foam adds height, but it also adds width. A thin line that looks elegant in flat embroidery will look clunky and awkward in 3D. Small text that is perfectly legible when flat will become a blob when raised. A good digitizer will look at your artwork and give you honest advice. They might suggest modifying the design, thickening up the fonts, or removing tiny elements that will not survive the puffing process. The goal is to create a file that looks clean and bold, not cluttered and messy.
Once the edge walk is in place, the digitizer lays down the top stitches. For 3D puff, the satin stitch is the king. Satin stitches are those long, smooth stitches that run parallel to each other, creating a shiny, ribbon-like surface. They work beautifully over foam because they cover the material completely. The digitizer has to be careful with the length of the satin stitch. If the stitch is too long, it will snag and catch. If it is too short, it will cut through the foam. There is a sweet spot that allows the thread to drape over the foam cleanly. The angle of the satin stitch also matters. It needs to follow the natural contour of the shape to look smooth and professional.
A skilled digitizer adjusts the pull compensation to account for this. They might widen the satin stitches slightly because the foam will cause the edges to pull inward. They also reduce the density of the stitches. That sounds counterintuitive, right? You would think more stitches equals a better hold. But too many stitches on foam is a recipe for disaster. The needle perforates the foam too much, weakening the structure. By using a slightly looser density, the digitizer allows the thread to create a solid shell without destroying the foam underneath. This is a nuance that only comes from experience and specialized training.
A thicker foam creates a more dramatic effect, but it is also harder to control. It requires longer satin stitches and more aggressive edge walks to keep it contained. If your design has sharp corners or narrow points, a thick foam might cause the stitches to pull away from the edges, exposing the foam underneath. A professional digitizer will ask you what thickness of foam you plan to use. They will then adjust the file to match. Using a 2mm file with 4mm foam is a mismatch that will lead to poor results. The file and the foam need to work together as a system.
This is especially important for 3D puff because so many things can go wrong. The foam might shred, the stitches might sink, or the design might warp. By testing the file, the digitizer can identify these issues and fix them before you ever put a needle to a customer's hat. They refine the edge walk, tweak the density, and sometimes even change the sequence of the stitches to ensure a smooth, clean result. This level of attention to detail is what separates a mediocre file from a masterpiece.
You cannot shortcut the process. You need a digitizer who understands the science of foam, the physics of thread tension, and the art of stitch direction. When you invest in expert embroidery digitizing services for your 3D puff designs, you are investing in the final quality of your product. You are ensuring that your caps, jackets, and bags look sharp, professional, and built to last. So go ahead, raise your brand to the next level. The view from the top is pretty amazing.